Guide
The Concrete Staining Process, Step by Step
Prep, neutralize, stain, neutralize, seal. The five-step staining process produces beautiful, long-lasting color.
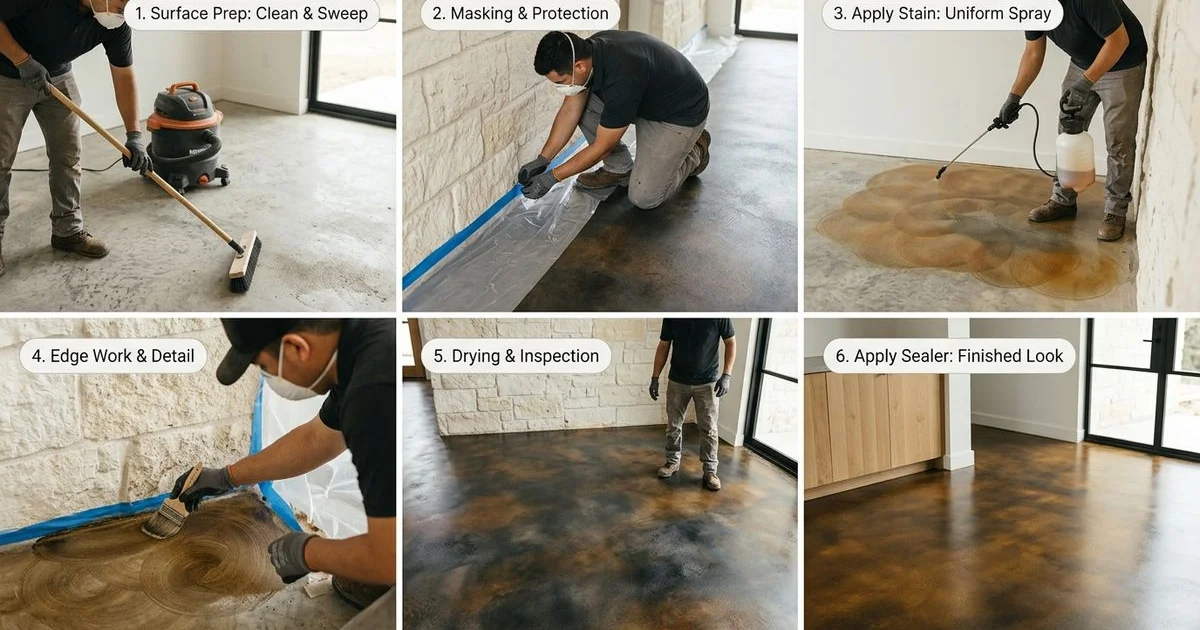
Five steps from bare slab to finished floor
- Surface prep. Diamond grinding to clean concrete, removing any old sealer, paint, or contamination. Crack repair if needed.
- First neutralize. Some slabs need a neutralization wash to balance pH before stain application.
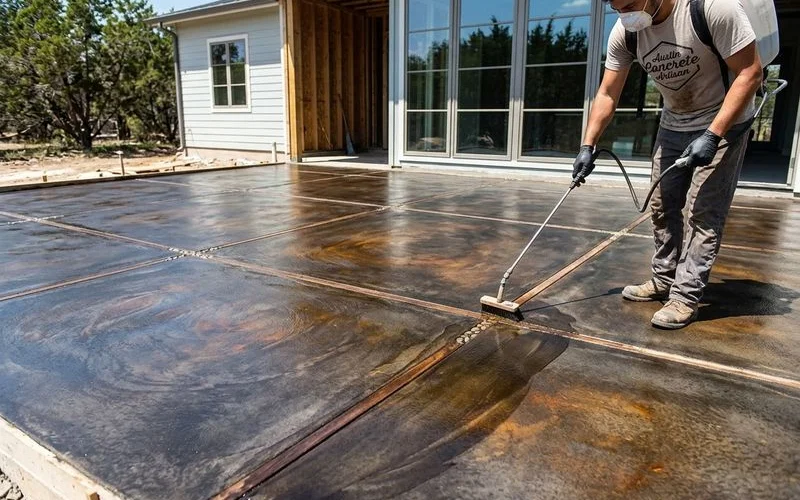
- Stain application. Acid stain is applied with a sprayer or brush in two coats. Water-based dye is applied similarly but in fewer passes. Reactive chemistry develops color over 4-24 hours.
- Second neutralize. Acid stain residue is neutralized with a baking-soda wash and rinsed clean.
- Seal. UV-stable sealer locks in color and protects the surface. Multiple coats for outdoor use.
Why each step matters
Skip prep and the stain takes unevenly. Skip neutralization and the chemistry can affect the sealer. Skip proper sealing and the color fades fast.
The same prep that makes a Concrete Staining job last decades is what separates a real install from a quick DIY application. We’ve been refining this process for 21 years in Austin and every step matters.
Most residential stainings take 2-3 days total. Send a slab photo with your quote request and we can plan the timeline for your project.
Frequently Asked Questions
How long does the whole process take? +
2-3 days for a typical residential patio or interior floor.
Can the color be touched up after? +
Yes — small touch-ups are possible. Larger changes are harder once the stain has set.
Can you stain in winter? +
Yes — acid stain reactions slow in cold but still work. Indoor staining works any time of year.
Related Service
Learn more about Concrete Staining
Acid stains and water-based dyes for rich, variegated, stone-like color.
View Concrete StainingRelated Guides
Acid Stain vs Water-Based Dye for Concrete
Acid stains give variegated stone-like depth. Water-based dyes give uniform vibrant color. Each fits different aesthetic goals.
Can Old or Stained Concrete Be Stained Over?
Usually yes — grind to clean concrete, neutralize, then stain. Heavily damaged slabs may need overlay first.
How Long Does Stained Concrete Last and Need Resealing?
Stain itself is permanent. Sealers last 3-5 years outdoors, longer indoors. Plan reseal at those intervals to keep color sharp.
Stained Concrete vs Stamped Concrete for Patios
Stain adds color; stamp adds pattern. For patios, the choice is between a flat color statement and a stone-look pattern.